Hopefully, you’ve read through our reviews of the best projectors. If you did, you’re sure to have a great one. To get the ideal picture, you have to ace the setup. Don’t get in a rush. This has to be done right.
Let’s begin.
How To Setup Your Projector
Follow these projector setup ideas to get the best possible image from your new home theater projector.
Step 1: Prepare Your Screen
Screens are best. They offer the best possible surface for the light from the projector to bounce off of. A screen will cover anything on your wall, like light switches or small holes, that would otherwise be a permanent part of your viewing or gaming experience.
If you’re going to project onto a wall, it’s best to give it a fresh coat of flat white paint. If that’s not possible, at least clean the wall to get any dust off of it.
Step 2: Mount Or Place Your Projector
For the easiest setup and best picture, your projector should be exactly perpendicular to your screen or wall, and its lens should be as close as possible in height to the middle of where the image will be.
You also have to consider where everyone will be sitting. There has to be a clear path for the light from the projector. The ceiling mounts are awesome. They allow you to place the projector far away from the screen for the biggest picture.
Placing your projector on a table in front of the screen may mean you have to settle for a smaller picture, but there’s less chance of anyone walking between the projector and screen while you’re trying to watch a movie.
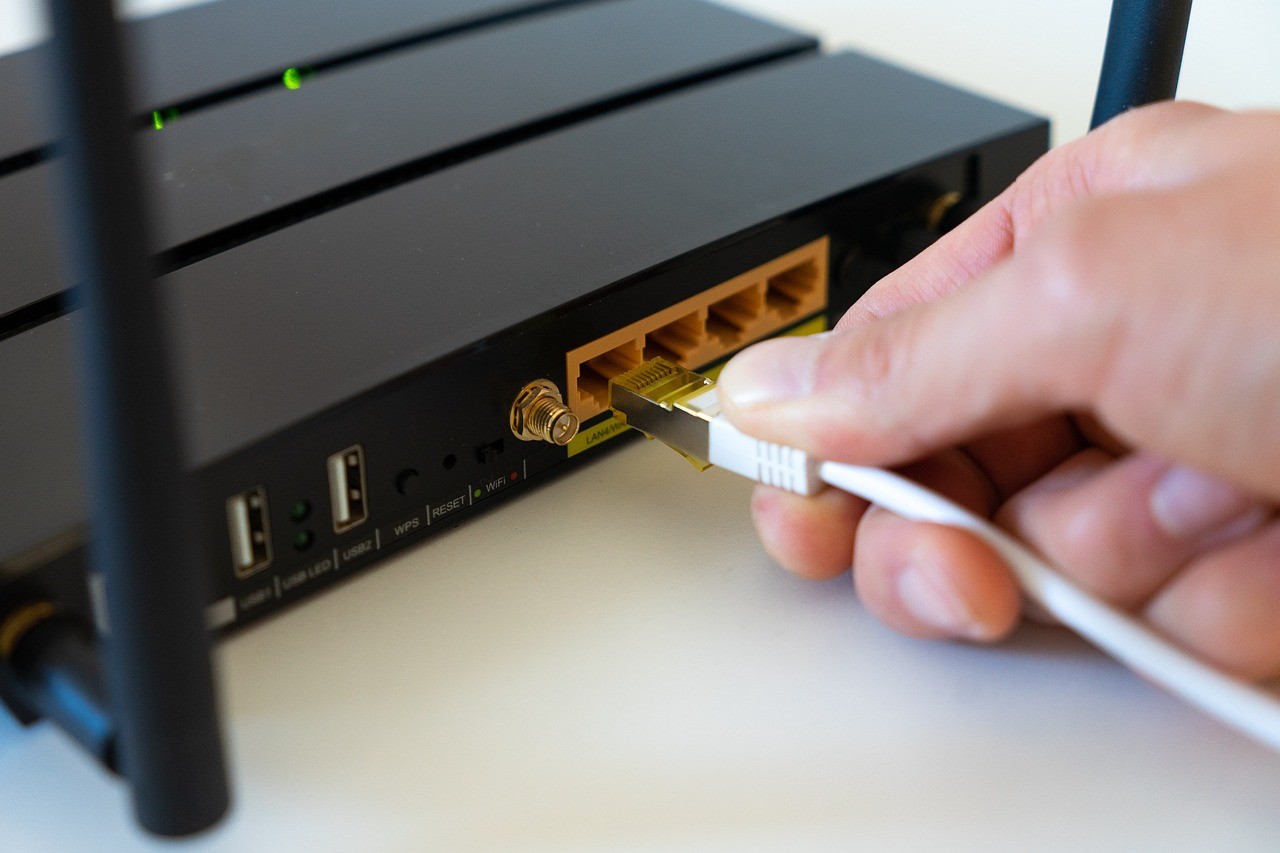
Step 3: How To Connect Projector
Connecting everything should be easy. You plug the media cords from your gaming console, DVD player, and other sources into the projector. You may need some adaptors.
Also, plug the projector’s power cord into an outlet. This is the time to make all of the required wireless connections, like WiFi routers and Bluetooth.
Step 4: Align For The Best Image
This is where you’re going to work to get the best picture from your projector. Both vertical and horizontal alignment is crucial. The lens has to be as close to perfectly perpendicular to the screen as possible. That’s how you get a clear picture, even around the edges.
This process is easier if your projector has some kind of keystone alignment features. Vertical keystone alignment pretty much lets you move some of the inner workings of the lens mechanism up and down, so you don’t have to adjust the feet of the projector or place anything under them to get the alignment right.
Horizontal keystone adjustment lets you adjust side to side for the perfect alignment without turning the projector.
Now, your projector may have come with a setup DVD. If so, it’ll project a pattern that will help you get the alignment perfect. If not, download and use this one. Burn it onto a rewritable disc if your projector isn’t internet-capable.
Darken the room and project your alignment pattern onto your screen. The markings that indicate the center of the alignment pattern must be as close to the center of the screen as possible.
Use Zoom, if your projector has one, to set the size of the screen to the size you’ll be using most often. The edges should be clear, with all of the lines and features of the alignment image crisp. If the edges aren’t as clear as the center, there is a perpendicularity problem.
Adjust the projector’s feet or move it from side to side until you have the center marking of the alignment pattern in the middle of the screen and the edges of the image as clear as the middle. Repeat this for vertical alignment.
Step 5: Focus
You’re almost there. Now focus until the image is crisp. Bigger pictures will not be as detailed as smaller ones, regardless of the resolution. That’s it. Your home projector setup is complete, and you’re ready to watch or game.
You know how to use a projector since the remote control works just like a TV. But read on to learn how to fix common problems that people run into.
How To Make The Picture Brighter
If your projector has adjustable brightness, turn it up. That’s simple enough, but what if it’s as bright as it will go and that’s still not enough?
Making the room darker will make the picture appear brighter. Pull some shades and turn off any unnecessary lighting in the room. But the best thing you can do is get a projector screen. Screens reflect more light than any wall can.
If you have to project onto a wall, make sure it’s clean. Better yet, paint it with flat white paint. Don’t use gloss or semi-gloss. That glossiness creates a distracting sparkly glare.
How To Make The Picture Sharper
So you sprung for the UHD home theater projector, but the picture isn’t as sharp as you’d expected. There are a few things you should check.
Look in the projector settings. Make sure the picture is set to the resolution you want.
Check your source. Is it a native resolution that you are looking for? The projector can only project what it gets from its source.
Are your cables in good shape? If you’re using old composite cables, throw them away and get HDMIs.
If all of your settings are good and your source is sending hi-res through good cables, maybe it’s your picture size. Regardless of the resolution, bigger images are less sharp. Consider settling for a smaller picture.
What’s With The Rainbow?
You may notice a tiny rainbowing effect around the edges of your picture. This is a problem with some projectors.
You can try a slightly smaller picture size to get rid of it. If that doesn’t work, try running your alignment image again to make sure you’re perpendicular. If all of that fails, a lower brightness setting will make rainbowing less noticeable.
The truth is that there may be nothing you can do about rainbowing. It seems to be an inherent part of some projectors. If it’s too distracting, you may want to consider returning your projector and getting one with DLP chip technology.
Conclusion
Now you know how to set up a projector. Take your time and get the alignment right. That’s the key to the best possible picture.